
Troubleshooting & Fitment Help
Fitment, setup and fixes, straight from the questions our team answers every day. New axle binding at low speed? That’s the #1 question we get, and it’s normal for fresh worm gears. Start with Axles & Gears.
Axles & Gears
Axle binds or stutters at low speed+
Some catching is normal on new worm gears. Work through these in order:
- Break it in. Run a few battery packs. Machining edges on new gears wear smooth with normal use.
- Add grease. Pull the diff covers and add a little more grease to the upper and lower worm gears. We use a light synthetic grease (the Harbor Freight grey tube) on our in-house builds.
- Check lug nuts. Overtightened wheel nuts load the axle tube bearings and add drag.
- Shim the upper worm gear. Our current baseline is a 0.1mm stainless shim on each side of the upper worm gear, between the gear and the bearing. See the full shimming guide below.
Lug nut tip: slip a small O-ring (like a ball joint O-ring) over the wheel threads, then spin the nut on hand-tight. The O-ring holds tension so the nut won’t back off. If one loosens, go just 1/10 of a turn more with the supplied tool.
How to shim a worm gear differential (full guide)+
Applies to SCX24-style worm gear diffs, including LGRP Super 8 V1/V2, Super 4 and Spider 9 axles. Worm gears are strong but sensitive to setup, and proper shimming is the key to smooth running and long gear life. Start with the rear axle, since it usually needs the most attention when the front is overdriven.
O-rings vs. shims
Some axles and gear sets include rubber O-rings. They work in a pinch, but they flex under load, let the upper gear move, and flatten over time. Stainless shims are the permanent fix. Remove any O-rings from the upper worm gear before adding shims.
Step by step
- Disconnect the rear driveshaft at the axle. The transmission side can stay connected.
- Remove the rear upper link mount, or disconnect the upper links from the axle.
- Flip the truck so the diff cover faces up and you can reach the cover bolts.
- Remove the diff cover and the upper worm gear (the small gear the driveshaft connects to).
- Add one 0.1mm shim on each side of the upper worm gear, between the gear and the bearing (one against the diff cover bearing, one against the housing bearing). This is our baseline, and often all it needs.
- While it’s open, rotate the tire and pack grease onto the lower worm gear, and fill the upper gear’s teeth.
- Reinstall the gear and cover. Snug the bolts lightly and evenly so the cover sits flat against the housing.
- Hold the housing and roll the tire by hand in both directions. Watch whether it’s smoother one way, whether snugging the cover helps or hurts, and whether the upper gear moves in and out.
- Adjust as needed (see below), then fully snug the cover bolts, reinstall the link mount and driveshaft, and check driveshaft phasing.
Reading the results
- Smoother with the gear sitting deeper in the housing: add another 0.1mm shim on the diff cover side of the upper gear.
- Smoother with the gear sitting shallower: add another 0.1mm shim on the housing side of the upper gear.
- Gets worse when you snug the cover: move a shim from the diff cover side to the housing side.
- Upper gear moves in and out: it needs more shim.
- Heavy resistance or the cover sits at an angle: too much shim. Remove some.
The goal: zero in-and-out movement of the upper gear without adding drag. Less is more, so adjust 0.1mm at a time. Every gear set is a little different, and worm gears never roll quite as freely as ring-and-pinion axles.
Quicker break-in for rear gears
With an overdriven front axle, the rear gears are always being pushed or dragged slightly. You can speed up break-in by loading the rear gears a bit harder than normal driving does.
- Hold the truck firmly by the front axle or hood area, hands clear of the front tires, and press the rear tires into the ground.
- In reverse: give it some throttle while pushing the truck backward faster than the rear wheels are driving it.
- Going forward: give it throttle while pulling the truck forward faster than the rear wheels are driving it.
- Repeat in both directions about 15 times. As it gets quieter, ease off the pressure and vary the throttle a little.
It will sound rough for the first 5–10 cycles. That’s expected. If the rear tires are fully wrinkling and wrapping, you’re pressing too hard. Afterward, test a slow crawl forward and reverse.
Wheel hop or shaking at full steering lock (CVs maxing out)+
This means the steering endpoints are set too wide and the axle shafts are hitting their max angle. Setting endpoints takes a couple of minutes and prevents premature wear on your axle shafts.
- Flip the car upside down on the table.
- Turn the radio’s ST RATE knob or button down to about 50%.
- At about 1/4 throttle, steer full lock one direction and slowly raise the rate until you just barely see the shafts max out, then back off slightly.
- Steer full lock the other way and confirm it isn’t over-steering on that side either.
Set correctly, the wheel hop goes away and you should get months out of the wear parts inside your axles, depending on how hard you drive. When it’s time, axle shaft rebuild kits are on the site.
Super 8 U-joint shafts won't steer smoothly or bind once installed+
First check that the joint moves smoothly with the shaft out of the car. If it does, it’s almost always one of two things:
- Wrong inner knuckle bearings. U-joint shafts come with narrower bearings that must go in the inner knuckle position on both sides. Standard bearings won’t work there.
- Shafts meeting inside the diff. If the correct bearings are in, the inner shaft ends may be touching inside the lower worm gear. Pull both shafts and file about 0.25mm off the inner end of each. Even small machining burrs can cause this.
Spider 9 axles binding+
- Swap the O-ring for shims. If there’s an O-ring on the upper worm gear, replace it with shims from the kit included with your axles. Start with one 0.1mm shim on each side of the upper worm gear, between the gear and the bearing, and adjust 0.1mm at a time from there.
- Check bearing seating. Every bearing in the center section and outer tubes should be fully and evenly seated.
- Tighten the cover carefully. Spin the input by hand while snugging the diff cover, and go no more than 1/4 turn past where the bolt head meets the cover.
- Check lug nuts. Overtightened nuts load the tube bearings and add drag.
Test: with the cover tightened, push and pull the input shaft where the driveshaft connects. You want as little in-and-out play as possible without extra drag.
Super 8 V1 bearing sizes+
| Axle | 3x6x2.5mm | 3x6x2mm | Total |
|---|---|---|---|
| Front | 6 | 2 | 8 |
| Rear | 6 | — | 6 |
The narrow 3x6x2mm bearings go in the inner knuckle position and come with our U-joint front shafts, not the universal SCX24 bearing kit. They look almost identical to the 2.5mm, so measure if something won’t seat.
Rear bearing retainers use the four pan head bolts in the rear hardware kit.
Which shafts fit my housing?+
Super 8 V1 housings need Super 8 V1 U-joint shafts. Super 8 V2 and Super 4 shafts won’t fit. Older CVD shafts can be repaired with our CVD rebuild kit.
Super 4 knuckles & link mount wobble+
Super 4s use standard SCX24 suspension mounts. Brass knuckles must be the Super 4-specific version. A little wobble in the upper link mount? Snug each bolt about a quarter turn.
Stock gearing & MR24 ratios+
Front 2/12/Rear 2/16/MR24 21%
The front is overdriven on purpose. Replacement worm gear sets come in 2/12, 2/13 and 2/16. MR24 transmissions ship with the 21% set installed. Go 34% for smooth slow crawling or 54% for more wheel speed. A 13T pinion works fine with the 55T spur.
Shocks
Builders kit sits higher than the photos+
Long Travel 54mm/Springs cut in half
Builders kits ship with Long Travel 54mm shocks, and we cut the springs in half to bring the ride height down. If yours sits high, check that the shorter springs are installed and that the package says 54mm (58mm is the taller option).
48mm or 54mm shocks?+
48mm keeps the truck lower and more stable. 54mm gives more articulation, and many builders cut the springs in half to keep the ride height low. Both work well on the Eliminator, and 48mm is the pick for a stock-frame Gladiator with Super 4 axles. Adding our front limit strap controls front droop on longer shocks.
My shocks stay compressed+
Usually the pivot balls are too tight or binding on the mount tabs. Loosen the mounting screws slightly, center the pivot balls, and check for paint or plastic flash on the mounts.
Broken bolt stuck in a shock mount+
- If threads are showing on either side of the tab, thread another bolt in from the other side to push the broken piece out.
- If any thread is exposed, grab it with small pliers and twist it out.
- If it’s flush with the tab, press a fingertip against it and twist slowly. It often walks out.
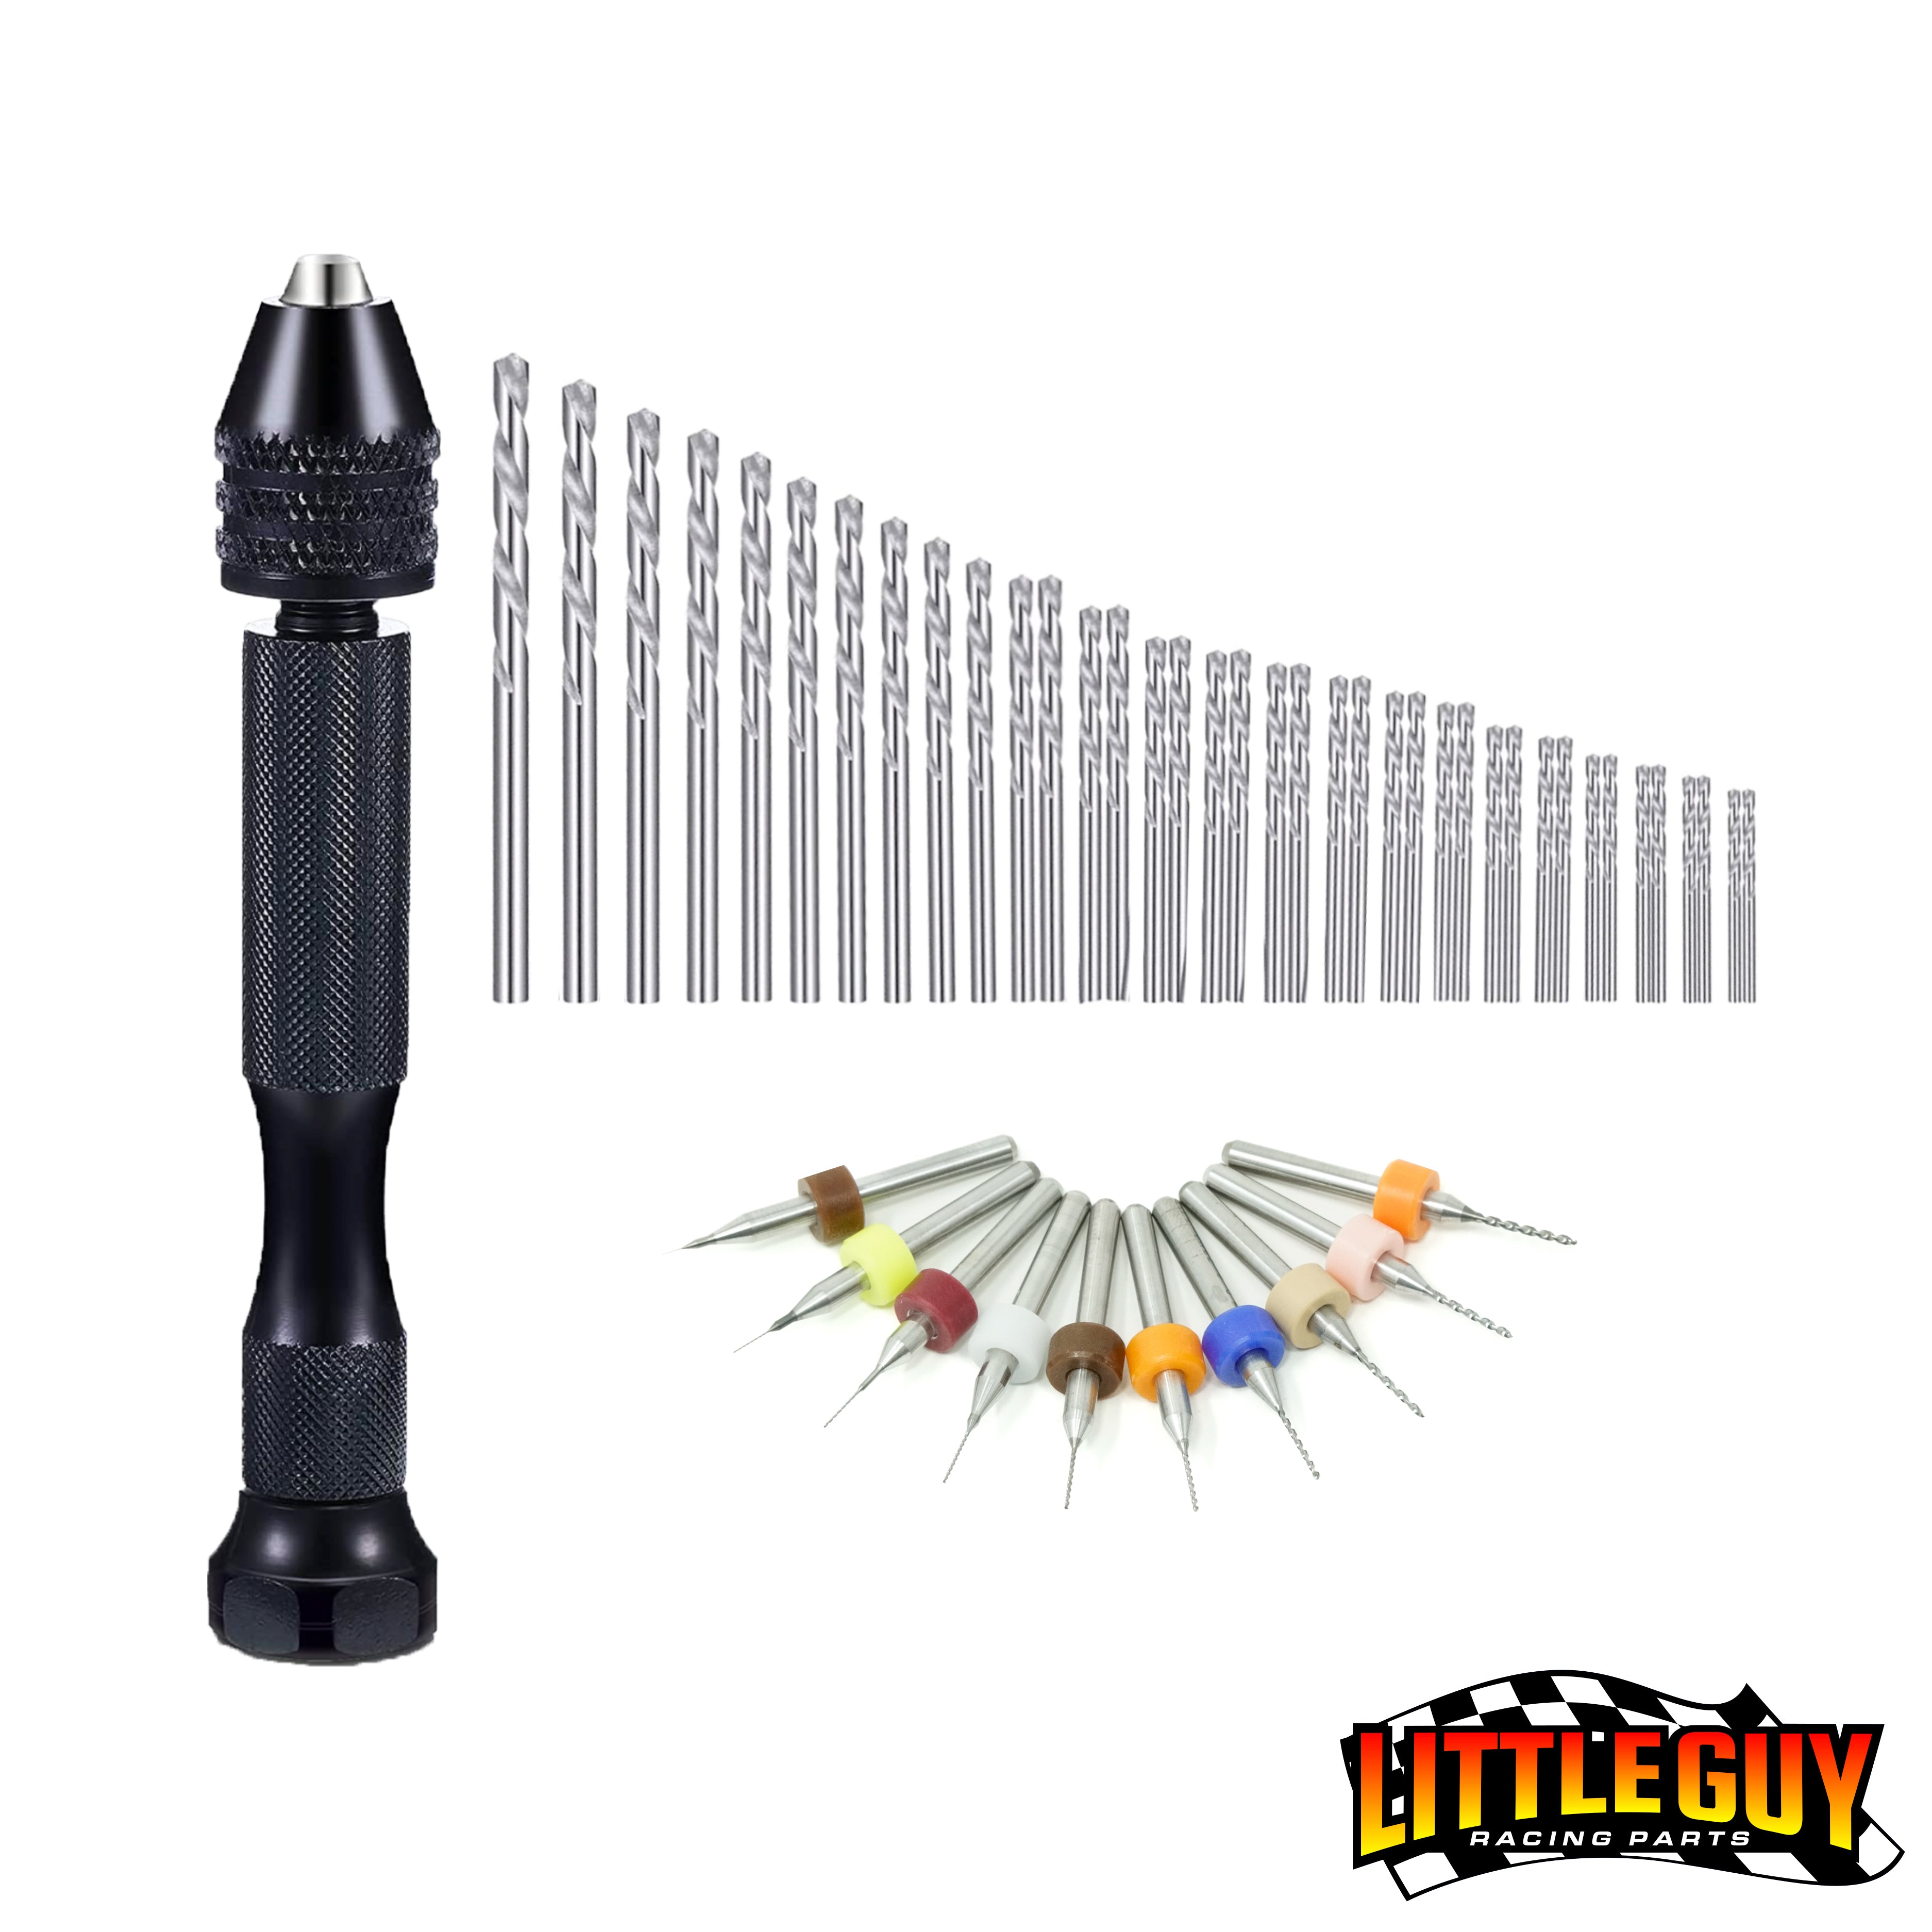
- A micro drill bit can also spin it out. Go carefully so you don’t damage the threads.
Do Kinetix shocks have a bladder?+
No. Kinetix are emulsion shocks: sealed and oil-only, with no bladder or air pocket. For rebuilds, regular RC shock oil works. We’ve tested Associated, Losi and Traxxas.
Electronics
How to bind the radio and receiver+
- Plug the servo into CH1, the ESC into CH2 and the bind plug into CH3. Start with the car and radio both off.
- With the radio still off, power on the car. The blue receiver light flashes to show it’s in bind mode. Give the car and ESC 5–10 seconds to fully boot.
- Press and hold the bind button on top of the radio for 2 seconds, then switch the radio on while still holding it. Keep holding for another 8–10 seconds. Don’t touch the steering or throttle during this step.
- Release the bind button. The electronics jitter once the radio and receiver are bound.
- With the car still on, pull the bind plug so it doesn’t try to bind again next time you power up.
Still flashing blue? Move the transmitter a few feet away and try again. Still not binding? Send photos of how everything is plugged into the receiver through our technical help form.
Throttle cuts out, but steering still works+
Try these in order:
- Update the ESC firmware in the Furicar app (made by Furitek).
- Make sure the battery is fully charged. If it is, try a different battery.
- Replace the batteries in your radio. Weak radio batteries can slow response.
- Wiggle every electrical connection. A solder joint that’s coming loose can cut power.
- Plug the battery straight into the ESC, skipping any extension lead.
- Lower the low-voltage cutoff in the app. If cutoff is triggering too early, it kills the throttle. If lowering it all the way changes nothing, set it back.
Still happening? Fill out our technical help form and tell us whether the system is new, whether it ever worked normally, and whether you’ve swapped any parts (ESC, servo, battery, radio) to narrow it down.
Steering works but no throttle (Micro Komodo brushless)+
- Make sure the throttle normal/reverse switch on top of the radio is fully clicked into one of its two positions.
- Check that the ESC lead is fully seated in CH2 on the receiver.
- Open the Furicar app, connect to the car and go to the throttle page. Pulling the trigger should show a forward and reverse reading.
- If there’s no reading, check the main screen and make sure the ESC is set for a brushless Micro Komodo motor.
- Still nothing? Rebind the radio (steps above), keeping the trigger at neutral the whole time.
- Last step: factory reset the ESC in the app and run any software update.
Forward works but no reverse+
Run the throttle calibration in the Furicar app (made by Furitek). It sets your forward, neutral and reverse limits. First, make sure the radio’s normal/reverse switch is fully engaged and the ESC lead is fully seated in CH2.
Key detail: hold the trigger in the requested position while you tap OK and while the app moves to the next step. If you go full throttle, release, then tap OK, it records full throttle as neutral.
Brushless motor cogging or stuttering+
- Check the gear mesh. If the pinion is too tight on the spur, it overloads the motor. Mounted and meshed, the motor should spin easily by hand.
- Update the ESC in the app. If that doesn’t help, factory reset it and make sure it’s set for the Micro Komodo motor or the base tune.
- Check the drivetrain. Anything fighting the motor, even overtightened lug nuts, can make cogging worse.
Still cogging? Send a before-and-after video through our technical help form so we can take a look.
ESC acting up after an update+
- Rebind the radio and receiver (steps above).
- Factory reset the ESC in the app. This is a settings reset, not a firmware change. You can also try the update again.
- If it’s still off, delete and reinstall the Furicar app. Oddly enough, that fixes a lot of connection issues.
Battery for our builds+
2S/450mAh/PH2.0
We design and test around the VICMILE 7.4V 2S 450mAh 30C LiPo with a PH2.0 plug, available on Amazon. Spektrum 350mAh PH2.0 packs also work. Any USB balance charger will do, and Amazon often bundles these batteries with one.
Chassis & Bodies
Chassis for a Power Wagon or Gladiator+
The Eliminator Frame Kit was designed for the Power Wagon and Gladiator platform. It replaces the entire factory frame and comes with links.
No skid plate included. The factory SCX24 skid works if you keep the stock brushed electronics. Going brushless? Our upgraded skid plate lets you flip the transmission and is required for brushless setups.
Comp Frame body fitment: X-Factor & Brawler+
Each body mounts to the Comp Frame Kit with its own hinge kit:
| Body | Hinge kit needed |
|---|---|
| X-Factor Long Bed | Included with the Comp Frame Kit |
| X-Factor Short Bed | Short Bed Hinge Kit for the Comp Frame |
| Brawler | Brawler Hinge Kit for the Comp Frame |
Comp Frame hinge kits are made for the Comp Frame only. Mounting any of these bodies to a different chassis? You’ll need your own mounting solution.
Painting a Lexan body+
Use polycarbonate paint only (Tamiya PS). Wash, dry, and paint the inside in light coats, darks first. Stripping old paint? Use a Lexan-safe remover. Never use acetone or thinner.
Builds, Wheels & Kits
Wheels and tires: sets or singles?+
Wheels and tires are sold as sets of four, with one exception: 1.9" wheels are sold in pairs of two. We don’t split sets. Running Super 8 axles? You’ll need a set of our M2 lug nuts with your wheels.
Builders Kit upgrades+
1/24 scale with injection-molded axles. Upgrade options for V2 metal axles and Kinetix shocks are offered when in stock.
Build Studio: I already own some parts+
Choose “Skip, I Already Have This Part” for anything you already have.
Upgrading an SCX24 Gladiator: three paths+
Level 1: Keep it mostly stock
- Axles: Super 4s bolt right on, with better stability, strength and steering angle than stock.
- Shocks: 48mm for this axle width and wheelbase on the stock frame.
- Tires: 57mm for a low center of gravity and the best all-around crawling.
- Servo: the stock servo struggles as you add weight and bigger tires, so plan for an upgrade.
Level 2: Chassis upgrade
- Chassis: Eliminator Frame Kit (replaces the factory frame and links).
- Axles: Super 8 (V1 or V2) or Spider 9. The wider track puts more weight down low and is our pick for these trucks.
- Shocks: 48mm for lower and more stable, 54mm for more articulation (cut the springs in half to keep it low).
- Servo: Tremor servo and Tremor servo mount.
- Driveshafts: 50mm front, 60mm rear.
- Skid plate: factory skid for stock brushed electronics, our upgraded skid for brushless.
- Tires: 63mm for more clearance and a more aggressive look.
Level 3: Full performance
Everything in Level 2, plus our full brushless system: motor, ESC, top-tier transmission, radio and receiver.
Servo horn: Type B for Super 8 V2 or Spider 9 axles. Type A for Super 8 V1.
Eliminator build: parts list+
- Axles: pre-assembled Super 8 V1 or V2. To finish them you’ll need a Tremor servo mount (aluminum or brass recommended), a rear upper link mount (reuse factory or upgrade to aluminum), and wheel hex adapters (reuse factory or brass 3mm, 4mm or 5mm).
- Shocks: 48mm or 54mm.
- Tires: 57mm (Black Labels, Trench Kings) for a lower center of gravity, or 63mm (Claw Hammers, Black Labels) for more clearance. Some body trimming may be needed depending on ride height.
- Driveshafts: 50mm front, 60mm rear (Eliminator driveline kit).
- Skid plate: factory for brushed, our upgraded skid for brushless.
- Electronics: our brushless kit includes the full brushless system, our top-of-the-line transmission, and our radio and receiver.
- Servo: Tremor servo, our high-torque, high-speed option.
Servo horn: Type B for Super 8 V2 or Spider 9 axles. Type A for Super 8 V1.
Going brushless in a stock Gladiator+
There’s no direct bolt-in brushless upgrade for a stock Gladiator. Most of the factory electronics get replaced, and you’ll need some Dremel work on the factory ESC or battery tray depending on how you orient the transmission. Our brushless kit is the best fit, paired with our upgraded skid plate so you can flip the transmission.
Building Super 8 axles from scratch+
Front axle
- Super 8 brass front housing (diff cover included)
- Super 8 U-joint front axle shafts
- Worm gear set: 2/12, 2/13 or 2/16 (2/12 matches our pre-assembled axles)
- Front axle bearing kit
- Front axle hardware kit
- Brass knuckles (raw or black)
- Steering link set (brass or aluminum)
- Servo mount (Tremor tray recommended)
Rear axle
- Super 8 brass rear housing
- Super 8 rear axle shafts
- Worm gear set (2/16 matches our pre-assembled axles)
- Rear axle bearing kit
- Rear axle hardware kit
- Rear upper link mount
Both axles
- Wheel hex adapters (sets of four) in 3mm, 4mm or 5mm, depending on how wide you want the track. 3mm is our narrowest; 4mm adds 2mm of width.
- M2 wheel nuts
- Shim kit, recommended for gear setup
Axles this heavy deserve a quality servo. We recommend the Tremor.
Building Spider 9 axles from scratch+
Front axle
- Spider 9 brass front housing (diff cover included)
- Spider 9 U-joint axle shafts
- Worm gear set: 2/12, 2/13 or 2/16
- S9 front axle bearing kit
- S9 front axle hardware kit
- S9 brass knuckles
- S9 brass servo mount
- S9 front upper link mount (removable; upgrade to the brass multi-mount version)
- S9 hydro ram kit
- S9 brake caliper set (set of 4)
- S9 2.5mm lug nuts (set of 4)
Rear axle
- Spider 9 rear housing (upper link mount is built in)
- Spider 9 rear axle shafts
- Worm gear set: 2/12, 2/13 or 2/16
- S9 rear axle bearing kit
- S9 rear axle hardware kit
Shim kit recommended for setting up the gears.
Orders & Policies
Sign up for restock alerts on the product page and you’ll get an email as soon as the item is back. Restock timing depends on production, so alerts are the fastest way to hear about it.
Orders placed Monday through Friday before 2 PM PST generally ship the same day. Holidays and sale events can add processing time.
Choose an expedited option at checkout. Already ordered and want to upgrade? Contact us as soon as possible. Once an order is packed, the shipping method may not be changeable.
If you ordered up to 12 hours before a sale started, contact us with your order number and we’ll honor the sale price. Discount codes can’t be combined, so only one code applies per order.
Pay over time with Affirm or Shop Pay Installments, both available at checkout. Approval and terms are handled by the provider.
Contact us with your order number and clear photos or video of the issue, including the packaging if it arrived damaged. Our team reviews every case individually and will work with you on the best way to get it resolved.
We ship internationally, with rates shown at checkout. You can also check our dealer map for an LGRP dealer in your country or region.
We’ll get you dialed.
Send your order number and a quick photo or video, and our team will take it from there.
Contact Support →Installation Guides